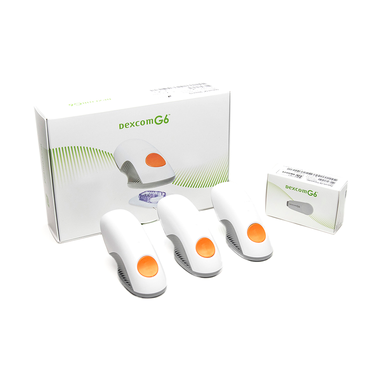
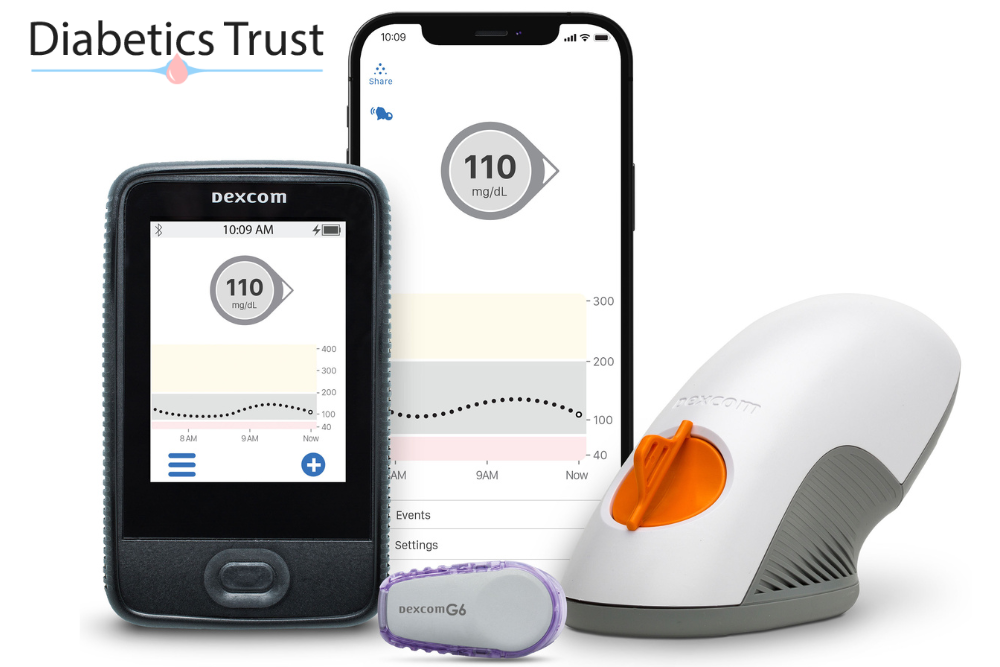
The optimal placement for the Dexcom G6 sensor is either on the belly (below the waist) or on the back of the upper arm, as these locations ensure the most accurate glucose readings. For those using the Dexcom G6 Continuous Glucose Monitoring (CGM) system, understanding the significance of correct sensor positioning is crucial. While the Dexcom G6 offers flexibility in terms of placement, certain areas yield more consistent results than others. This article will discuss deeper into these recommended spots and address common questions related to sensor positioning.
Arm vs. Stomach: Where to Place Dexcom G6?
The placement of the Dexcom G6 sensor is crucial not only for accurate readings but also for user comfort and convenience. Both the arm and the stomach are FDA-approved locations, but each comes with its unique set of advantages and challenges.
Is Dexcom G6 better on the arm or stomach?
While both locations are viable, the choice often boils down to individual preferences, daily activities, and body type. For those curious about how the Dexcom G6 integrates with specific insulin pumps, our detailed guide on What Insulin Pump Works with Dexcom G6 offers valuable insights.
Arm Placement: Detailed Insights
Advantages of Arm Placement
● Less Interference: The upper arm, especially the back or front, is less likely to have interference from clothing, belts, or waistbands, ensuring the sensor remains undisturbed.
● Sensory Experience: For many, the arm has fewer nerve endings compared to the stomach, making the insertion process less painful.
● Sleep Comfort: Those who predominantly sleep on their stomachs might find arm placement more comfortable and less disruptive during sleep.
Challenges of Arm Placement
● Visibility: Depending on clothing choices, the sensor on the arm might be more visible, which could be a concern for some, especially in warmer months.
● Physical Activity: Active individuals or those involved in sports might find the arm placement prone to accidental knocks or dislodging.
Can I put CGM on the front of the arm?
Yes, the front of the upper arm is not only suitable but also often preferred by many adults. It offers a flat surface, ensuring the sensor adheres well. However, it’s crucial to rotate sites to prevent skin irritation.
Stomach Placement: Detailed Insights
● Advantages of Stomach Placement
● Concealment: The stomach area is easily concealed under most clothing, offering discretion.
● Rotation Flexibility: The stomach provides a larger surface area, allowing users to rotate placement sites, minimizing skin fatigue and irritation.
● Challenges of Stomach Placement
● Sleep Discomfort: For those who sleep on their stomachs, having a sensor there might cause discomfort.
● Clothing Concerns: Tight-fitting clothing, belts, or waistbands might exert pressure on the sensor, potentially affecting readings.
Can you put a CGM on your stomach?
Certainly. The lower abdominal area, specifically below the waist but above the groin, is ideal. It’s recommended to place the sensor at least 3 inches away from the belly button to avoid areas with denser nerve endings.

The 20 Rule for Dexcom G6
The Dexcom G6, like many continuous glucose monitors (CGMs), operates based on specific principles to ensure accurate readings. One such principle that users often come across is the “20 rule.” But what exactly is this rule, and how does it relate to sensor placement?
What is the 20 Rule for Dexcom G6?
The “20 rule” for Dexcom G6 refers to the accuracy range of the device. In simpler terms, if your Dexcom G6 reads 100 mg/dL for your blood glucose, the actual reading can be anywhere from 80 mg/dL to 120 mg/dL – a 20% range above or below the displayed number. This rule is crucial for users to understand, especially when making treatment decisions based on CGM readings.
Relevance to Sensor Placement
Accurate readings are the cornerstone of any CGM device, and the Dexcom G6 is no exception. The placement of the sensor plays a pivotal role in ensuring that readings fall within this 20% accuracy range. While the arm and stomach are both FDA-approved locations, ensuring the sensor is placed flat against the skin without any folds or obstructions is vital. Proper placement minimizes the chances of readings falling outside the 20% range, ensuring users get the most accurate data possible.
For those who are integrating their Dexcom G6 with insulin pumps, understanding this rule becomes even more critical. Our guide on how to connect Dexcom G6 to the Tandem pump offers insights into ensuring seamless integration while maintaining accuracy.

Other Recommended Placement Areas for Dexcom G6
While the arm and stomach are popular choices for many Dexcom G6 users, it’s essential to understand that the device offers flexibility in terms of placement. The key is to find a spot that ensures accurate readings while maximizing comfort and convenience.
Where is the best place to put Dexcom G6?
The ideal placement for the Dexcom G6 sensor varies from person to person, depending on factors like body type, daily activities, and personal comfort. However, the manufacturer’s guidelines recommend the following areas:
1- Upper Buttocks: Especially recommended for children aged 2 to 17. This area offers a good amount of subcutaneous fat, which can help in getting consistent readings.
2- Lower Back: An area that’s often overlooked but can be suitable for many, especially if they want to give their usual sites a break.
3- Thighs: Some users find the outer thigh to be a comfortable spot, especially if they have more fatty tissue in that area.
It’s essential to avoid placing the sensor over areas with tattoos, scars, or any skin abnormalities, as these can interfere with the sensor’s ability to measure glucose levels accurately.
For users who are new to Dexcom G6 or are exploring its compatibility with other devices, our article on Who is Dexcom Good For? provides insights into the device’s versatility and user base.

Best Practices for Ensuring Dexcom G6 Stays in Place
Ensuring that the Dexcom G6 sensor remains securely attached is crucial for continuous and accurate glucose monitoring. A dislodged or loosely attached sensor can lead to inaccurate readings and may require premature replacement. Here are some tried-and-tested tips to ensure your Dexcom G6 stays firmly in place:
1. Skin Preparation
● Cleanse the Area: Before applying the sensor, clean the skin with rubbing alcohol to remove any oils or lotions. This ensures a clean surface for the adhesive to stick.
● Let it Dry: Allow the skin to air dry completely after cleansing. Avoid blowing on it or using any cloth, as this can introduce contaminants.
2. Adhesive Enhancements
● Use an Adhesive Barrier: Products like Skin-Tac™ can be applied to the skin before placing the sensor. They act as a barrier and enhance the adhesive’s grip.
● Overpatches: Consider using a Dexcom-approved overpatch or a medical-grade tape to secure the edges of the sensor, especially if you’re active or sweat a lot.
3. Avoiding Dislodgment
● Mind Your Movements: Be cautious of movements that might catch or pull on the sensor, especially when dressing or undressing.
● Shower Carefully: While the Dexcom G6 is water-resistant, it’s a good practice to pat the area dry gently after showering or swimming, rather than rubbing it.
4. Rotate Sites
Regularly changing the sensor’s placement site can help reduce skin irritation and ensure better adhesion. Our guide on other recommended placement areas for Dexcom G6 offers insights into varying your placement spots.

General Tips on CGM Placement
Continuous Glucose Monitoring (CGM) systems, like the Dexcom G6, have revolutionized diabetes management by offering real-time glucose readings. However, the accuracy and longevity of these sensors largely depend on their placement. Here’s a comprehensive guide on the best CGM placement:
1. Abdomen
● Pros: The abdomen is often recommended by manufacturers due to the consistent fat layer, which can provide more accurate readings.
● Cons: For those who sleep on their stomach or wear tight-fitting clothes, this might not be the most comfortable spot.
2. Upper Arms
● Pros: The back of the upper arm can be a discreet and comfortable spot, especially for those who are active.
● Cons: It might be slightly challenging to insert the sensor on your own in this area.
3. Thighs
● Pros: The outer thigh can be a good alternative for those who have exhausted other sites or need to give them a break.
● Cons: The readings might slightly vary compared to the abdomen, especially during physical activity.
4. Lower Back
● Pros: The love handle area can be a comfortable spot for many, especially when sleeping.
● Cons: It’s essential to ensure the sensor doesn’t get caught in clothing or when sitting.
5. Consider Your Lifestyle
If you’re an athlete or someone who sweats a lot, consider the areas where sweat accumulates the least.
For those who frequently swim, the upper arms might be a better choice to reduce the chances of the sensor getting caught.
6. Rotate Your Sites
To prevent skin irritation and ensure the adhesive sticks well, it’s crucial to rotate your CGM placement sites. For more insights on Dexcom G6 specific placements, check out our detailed guide on Best Placement for Dexcom G6.

Conclusion
In the journey of managing diabetes with the aid of Continuous Glucose Monitoring (CGM) systems, understanding the optimal placement of the sensor is paramount. To recap:
● The abdomen, upper arms, thighs, and lower back are all viable options for CGM placement, each with its unique advantages.
● The best CGM placement often depends on individual lifestyle, activities, and personal comfort.
● Regularly rotating the sensor’s location can prevent potential skin issues and ensure consistent readings.
● While areas like the back of the upper arm offer discretion, the abdomen might provide more consistent readings due to its stable fat layer.
It’s essential to remember that while these general tips can guide you, always refer to the manufacturer’s guidelines for the most accurate and safe usage. For those specifically using the Dexcom G6, our detailed guide on Best Placement for Dexcom G6 offers further insights tailored to this device.
Potential Additional Resources related to Dexcom G6 and CGM Placement
1- Dexcom Official Resources: It’s always a good idea to refer readers directly to the manufacturer’s official guidelines and resources.
2- Medical Journals and Studies: These provide scientific backing to your content.
● Continuous Glucose Monitoring: A Review of Recent Studies Demonstrating Improved Glycemic Outcomes
● Accuracy of Continuous Glucose Monitoring Sensors: A Systematic Review
3- Diabetes Associations: These organizations often provide comprehensive guides and resources on diabetes management.


